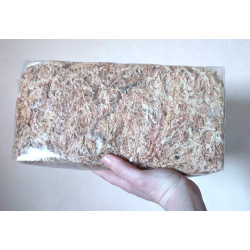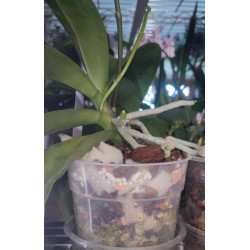


Welcome to the world of innovative horticulture, where rockwool and the elegance of orchids come together to create an exceptional duo. Rockwool, a modern and versatile growing medium, provides an ideal environment for thriving exotic orchids.
DELIVERY INFORMATION: beyond 100 liters, specific shipping costs will be expected. I invite you to inquire BEFORE ordering
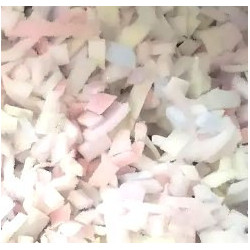
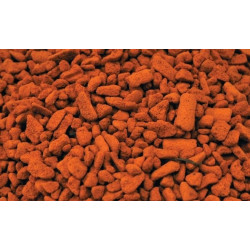
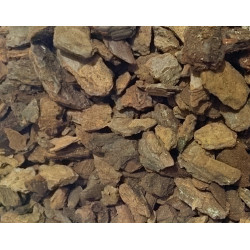
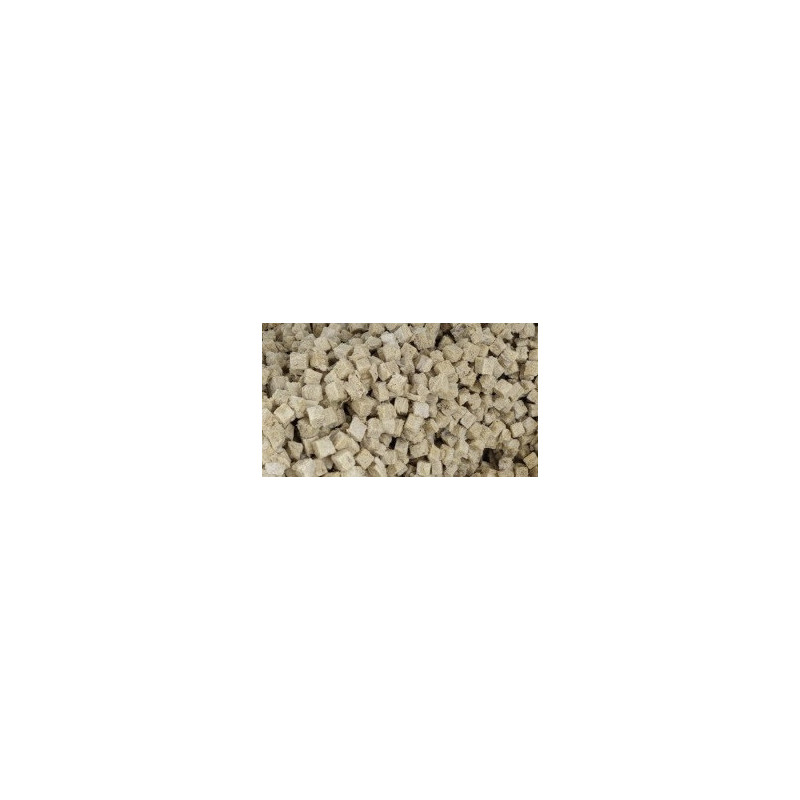
Rockwool Grodan growcube - 1cm x 1 cm- 5 Liters
Rеpotting with saturated rockwool offers a unique solution for enhancing orchid growth and health. The rockwool cubes become firmer, making them easier to maneuver between the roots. Accidental over-compression is avoided, which can prevent minor irritations caused by micro abrasions and the wetting agent used during cube production.
Follow these steps for successful repotting, similar to other substrates:
Remove Old Substrate: Carefully remove the old substrate.
Trim and Cut: Trim broken or poorly attached roots. Cutting at the junction is recommended, as leaving them may retain excess water, while reducing them stimulates new root growth.
Trimming Roots: Reducing the length of remaining roots, if needed, is a common practice.
Rinse and Cleanse: Rinse the roots and rhizome to remove decomposed organic material.
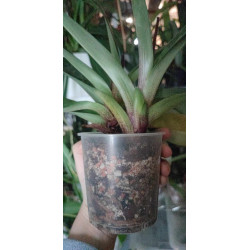
Plant Placement: Place the plant appropriately in the pot, ensuring that the root emergence area is below the substrate level by at least 1 cm.
Substrate Level: The substrate itself should be at least 1 cm below the pot rim and slightly compacted using your fingers.
Second Repotting: For a second rockwool repotting, increase pot size while retaining existing cubes and root mass. Additional cubes are added. In Sympodial orchids, place older bulbs towards the pot's edge.
Heavy Watering: After repotting, a thorough watering is recommended. This cleanses the rockwool of wetting agents and particles, ensuring optimal root contact.
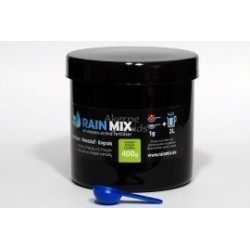
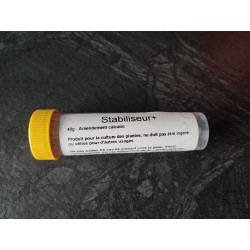
Commence Fertilization: Begin fertilization immediately, as with other substrates. Add lime amendment, to be renewed every 4 to 6 months, based on pH control.
Final Placement: Afterward, place the plant in its permanent location.
After repotting, proper watering and fertilization are essential. Unlike the belief that withholding water encourages root growth, this may lead to root desiccation and increase infection risk. For proper use, water when 2/3 of the pot surface appears dry. Ideal watering involves letting about 1/5th of the pot volume drain. The used water should not be reused, and a hydroponic system is not suitable with this cultivation method.
Contrary to common belief, repotted plants require fertilizer to stabilize and prevent deficiencies. Rockwool is no exception. Starting without fertilizer can delay growth, and properly fertilized plants exhibit faster growth.
//CAUTION// THIS PRODUCT WILL ONLY WORK if water and fertilizer inputs are controlled.
Quality substrate is crucial for orchid well-being and prosperity.
A good substrate provides optimal root aeration, efficient drainage, and balances humidity and aeration.
Orchids have specific substrate needs due to their epiphytic growth habits.
An appropriate substrate promotes root health, encourages flowering, and minimizes rot risks. By carefully selecting the right substrate, you contribute to creating an ideal environment for your orchids, ensuring their lasting flourishing.
Rеpotting Tips:
Timing: Rеpot orchids when signs of outgrowing their current pot or degraded substrate are observed.
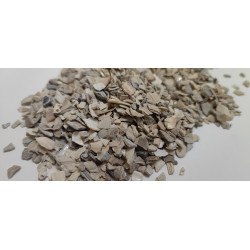
Substrate Selection: Use a well-draining orchid mix containing materials like bark, sphagnum, and perlite. Avoid regular soil.
Root Inspection: Gently remove the orchid from its current pot and inspect the roots. Trim damaged or rotten roots with sterilized tools.
Appropriate Pot: Select a pot with enough space for orchid roots to grow. Ensure it has drainage holes to prevent waterlogging.
Positioning: Place the orchid in the new pot, distributing the roots evenly. The base of the stem should be slightly above the substrate level.
Filling and Compacting: Fill the pot with the chosen substrate, gently pressing it around the roots. Lightly water to further compact the substrate.
Allow Adaptation: After repotting, place the orchid in a shaded area for about a week to acclimate to the new environment.
Remember, proper repotting with the right substrate enhances your orchid's overall health, contributing to successful growth and blooming.
Feel free to explore my videos and tutorials on my YOUTUBE channel.
You might also like
Welcome to the world of innovative horticulture, where rockwool and the elegance of orchids come together to create an exceptional duo. Rockwool, a modern and versatile growing medium, provides an ideal environment for thriving exotic orchids.
DELIVERY INFORMATION: beyond 100 liters, specific shipping costs will be expected. I invite you to inquire BEFORE ordering